The Future of Commercial Photography
VirtualStudioX is an AI-native content production platform. We replace expensive physical photoshoots with specialized generative models, allowing brands to produce thousands of studio-quality visual assets in minutes.
Cost Reduction
Save up to 95% on traditional photography costs by eliminating photographers, models, studio rent, and shipping logistics.
Rapid Turnaround
Traditional shoots take weeks. With VirtualStudioX, go from product sample to website listing in less than 60 seconds.
UI Atlas: Interface Navigation
The Studio is divided into four functional zones. Familiarize yourself with their purpose:
1. The Rail & Input Panel (Left)
This is where you "Feed" the AI. Use the icons on the far-left rail to switch between inputs (e.g., Talent, Wardrobe, or Objects). The Input Panel allows for drag-and-drop uploads of your physical assets.
2. The Virtual Stage (Center)
The main viewport where your vision comes to life. It handles live previews (in Design Mode), interactive staging (in Product Mode), and displays the final 8K photorealistic results.
3. The Control Panel (Right)
The "Photographer's Bag". Fine-tune the creative direction including Camera optics, Studio lighting presets, and AI enhancement toggles. This panel can be collapsed for a larger stage view.
4. The Production Bar (Top)
Contains Global Mode Switchers (Apparel, Product, etc.) and the primary Generate Shoot action button. It also houses your user profile and trial counter.
Apparel Studio
Fashion-FocusedThe Apparel engine performs a "Physics-Aware Composite" where it merges garment flat-lays with high-fidelity human models.
The Cast Identity Workflow
Upload Talent: Use a real model's photo. The AI will preserve facial identity and body type perfectly.
The Roster: Choose from our library of 500+ racially diverse and age-varied AI models.
AI Casting: Type a description (e.g. "A tall athlete with short hair") to generate an exclusive model for your brand.
Garment Layering & AI Stylist
When uploading multiple items (e.g., T-shirt + Jacket), order matters. VirtualStudioX uses a Bottom-Up stack. The first item uploaded is considered the "base layer". Use the AI Stylist button to automatically organize complex outfits.
To show the interior of a jacket, upload the base t-shirt first, then the jacket. In the "Styling" text box, type: "Jacket is worn open over the shirt".
Product Studio (ECOM-X)
E-commerce optimizedECOM-X Compliance Engine
Select from Amazon, Flipkart, or Meesho presets. The system automatically switches to a 1:1 aspect ratio and ensures the "Main Listing" shot uses a hex #FFFFFF pure white background with compliant margins and padding.
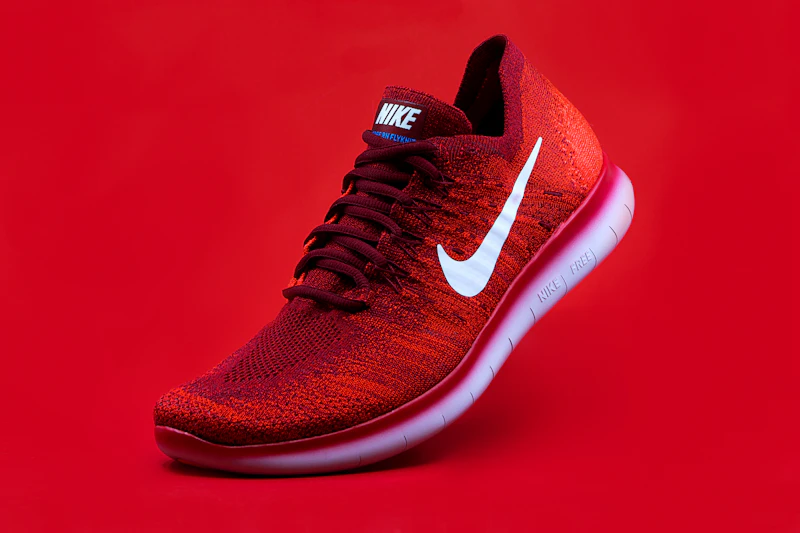
Example: Automatic Isolation & Pure White BG
Interactive Staging Canvas
Upload "Companion Assets" (like boxes, props, or accessories) and visually position them on the 2D stage. The AI will translate your 2D layout into a 3D perspective photoshoot.
- DRAG & DROP POSITIONING
- CORNER HANDLE SCALING
- DEPTH (Z-INDEX) CONTROL
Design & Mockup Studio
WYSIWYG EditorThe Design studio provides a live visual preview of artwork placement before calling the AI generator.
Placement Logic
- • Scale: 5% to 200% magnification.
- • Offsets: Nudge design along X and Y axis.
- • Print Style: Choose 'Screen Print' for flat inks or 'Embroidery' for textured threads.
Realism Engine
- • Fabric Blend: Controls ink opacity and fiber show-through.
- • Wrinkle Conform: Forces the artwork to follow the shadows and folds of the garment.
Creative Settings Glossary
Camera & Optics
Focal Length
35mm: Wide angle. Shows more environment.
85mm: Portrait standard. Flattering on faces.
Aperture
f/1.8: High blur (bokeh) background.
f/8: Sharp focus from front to back.
Lighting & Environment
Control the "Sun" of your studio. Switch from high-key Studio Softbox to warm Golden Hour sunlight. Use the Style Strength slider to control how closely the AI follows your uploaded reference image.
Generative Edit (Pro)
Fix mistakes without regenerating the whole image. Generative edit uses "Mask-Aware Inpainting" to surgically modify your results.
Mask
Paint over the specific area you want to change (e.g., the model's hair or a background object).
Describe
Type your instruction. Example: "Change the blue handbag to a brown leather tote."
Refine
The AI re-renders ONLY the masked area, keeping the rest of the image 100% untouched.